![]() Duplicator
1050 Page
Duplicator
1050 Page
Duplicator 1050 Support Files!
E-Prom Images
Duplicator 2764 E-Prom File Revision 4
Duplicator 2764 E-Prom File Revision 5
1050 Duplicator
ATRs
DUP 1050
NOTES S2.atr
DTI1050 R5.0
D1S2.atr
DUPLICATOR 1050
F.atr
DTI1050 R5.0
D1S1.atr
DTI1050 R5.0
D2S1.atr
DTI1050 R5.0
D3S1.atr
DTI 1050 V4.0
B.atr
DUP 1050
NOTES S1.atr
DUPLICATOR 1050
B.atr
DTI1050 R5.0
D2S2.atr
DTI 1050 V4.0
F.atr
DTI 1050 V3.0
B.atr
HACKER.atr
DTI 1050 V3.0
F.atr
DTI1050 R5.0
D3S2.atr
1050 Duplicator Source Code and
Support Files
1050
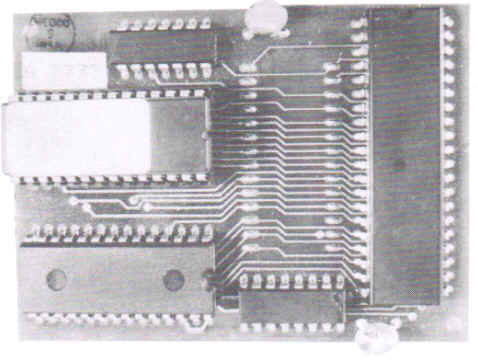
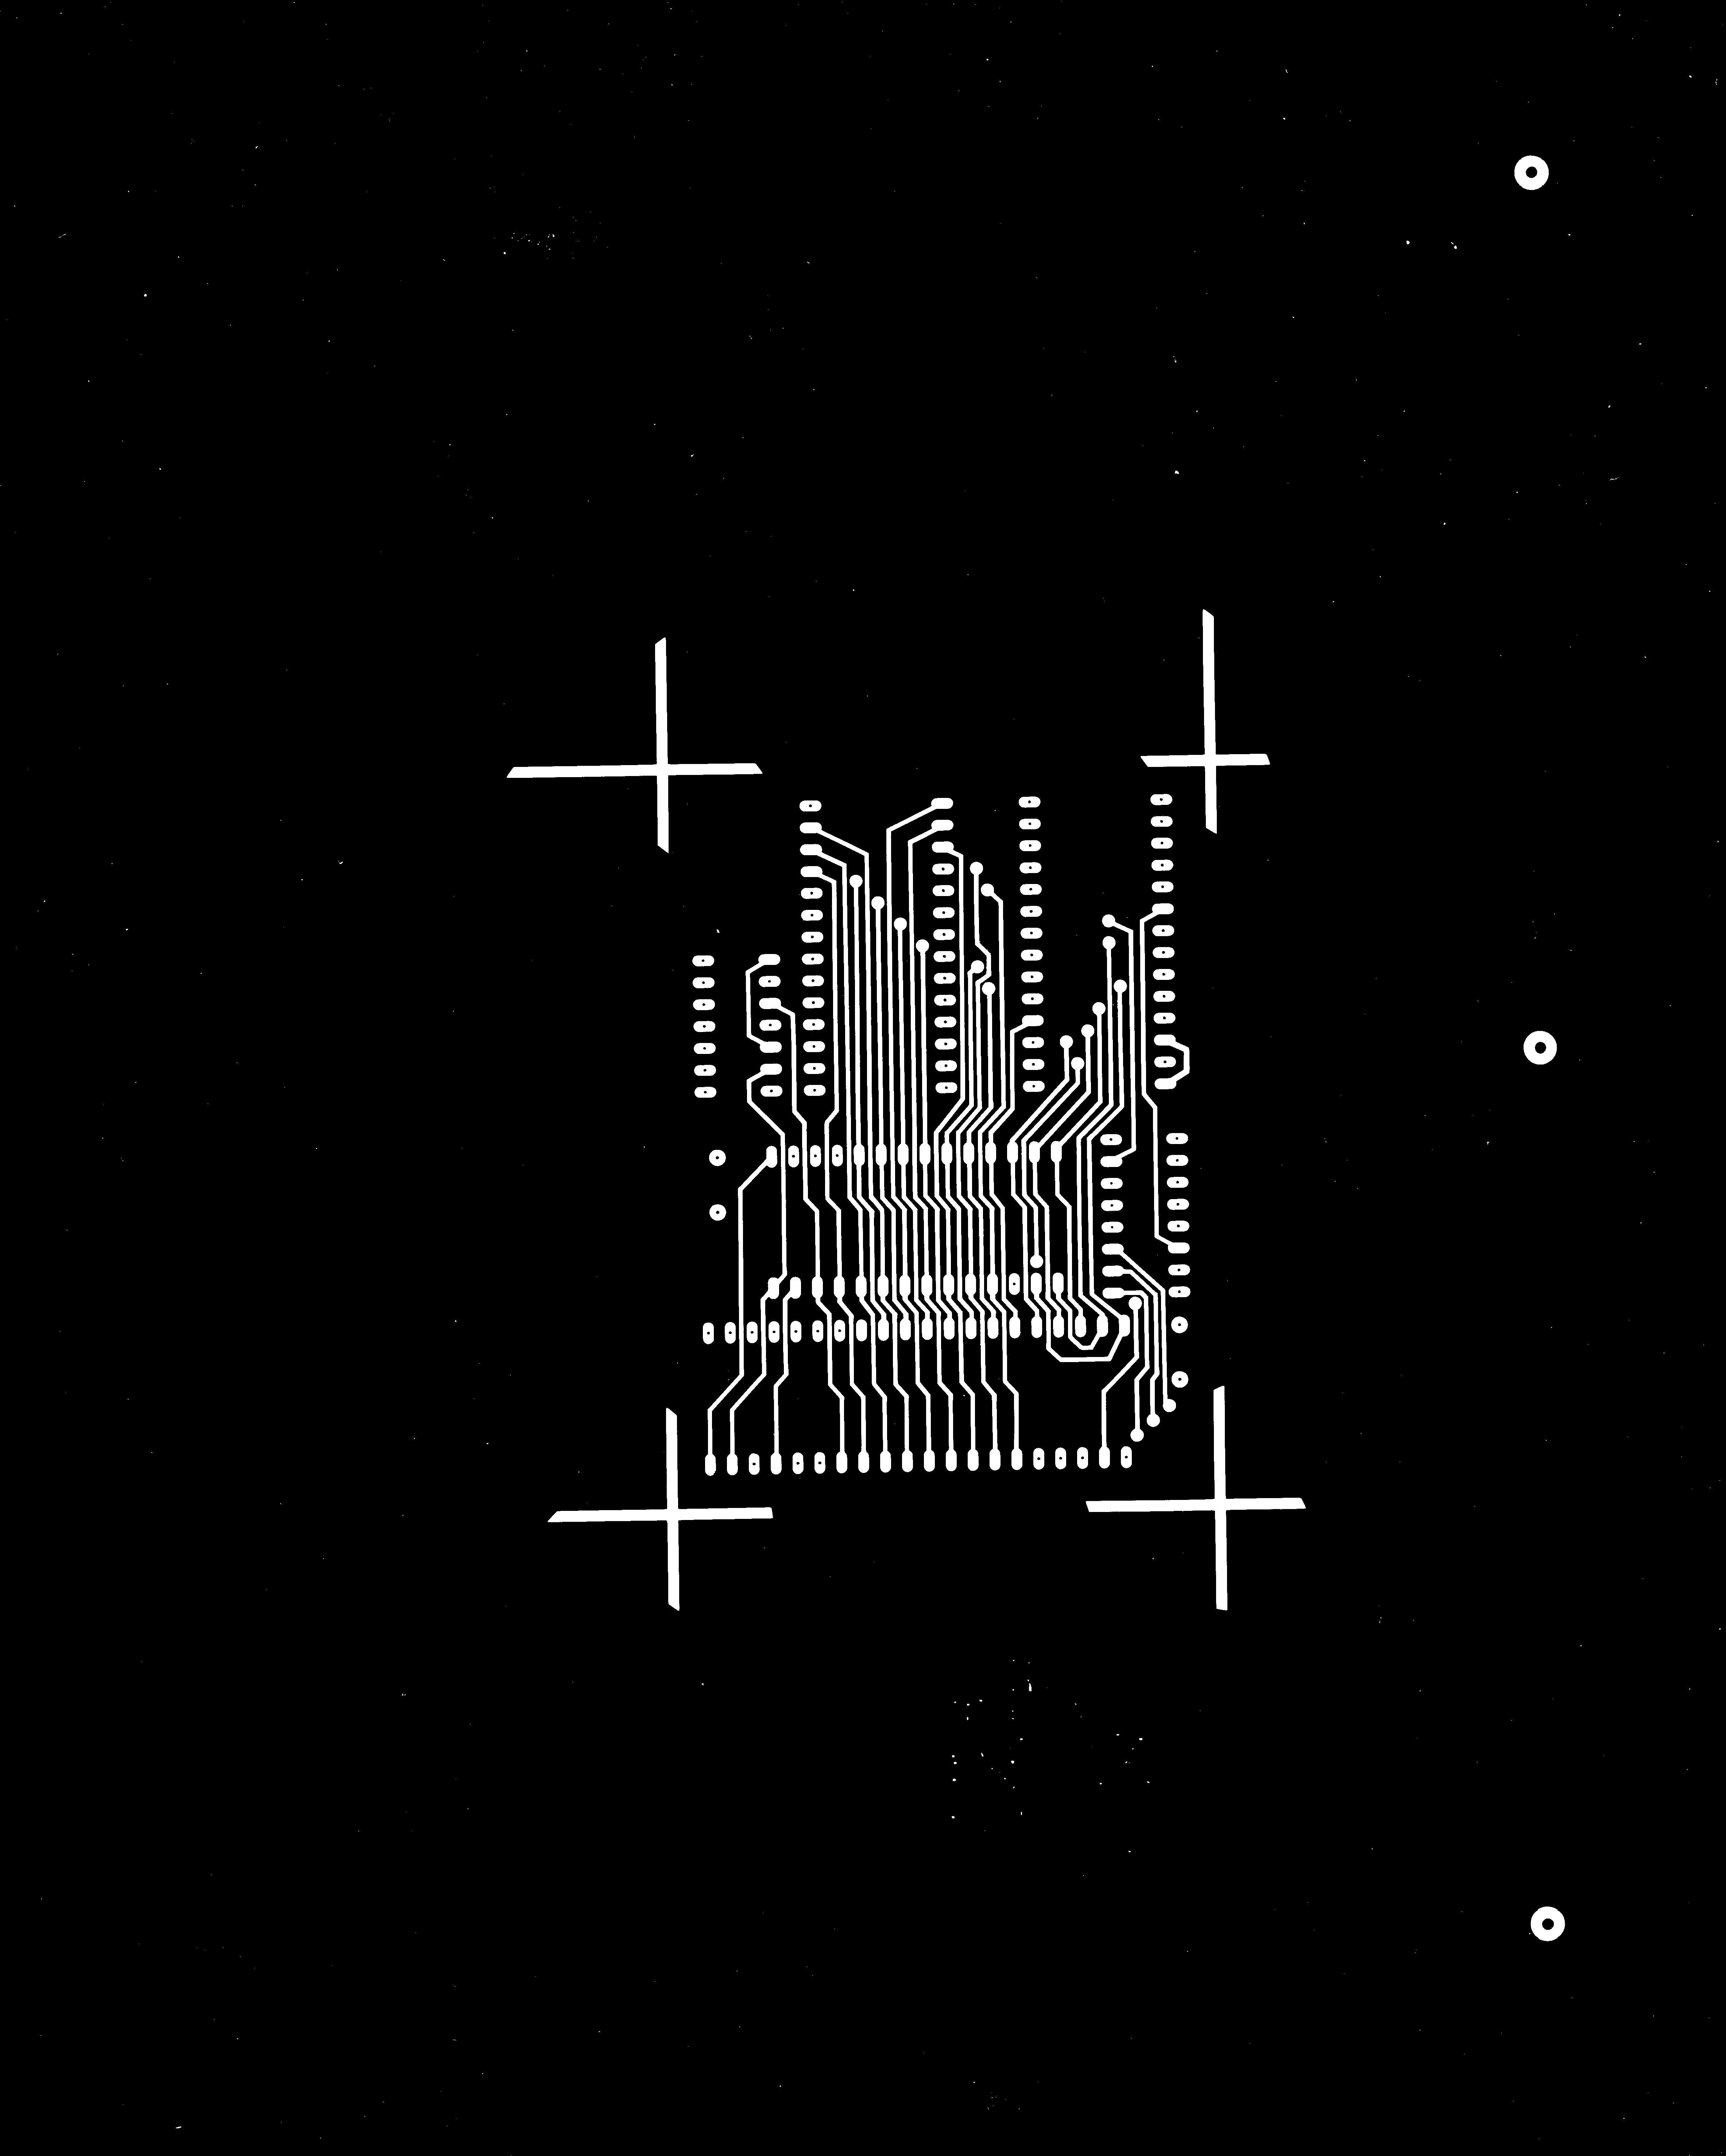
Duplicator circut Side.jpg
DD15M5.ASM
dupman2.txt
DD15M4.ASM
DD15M1.ASM
1050
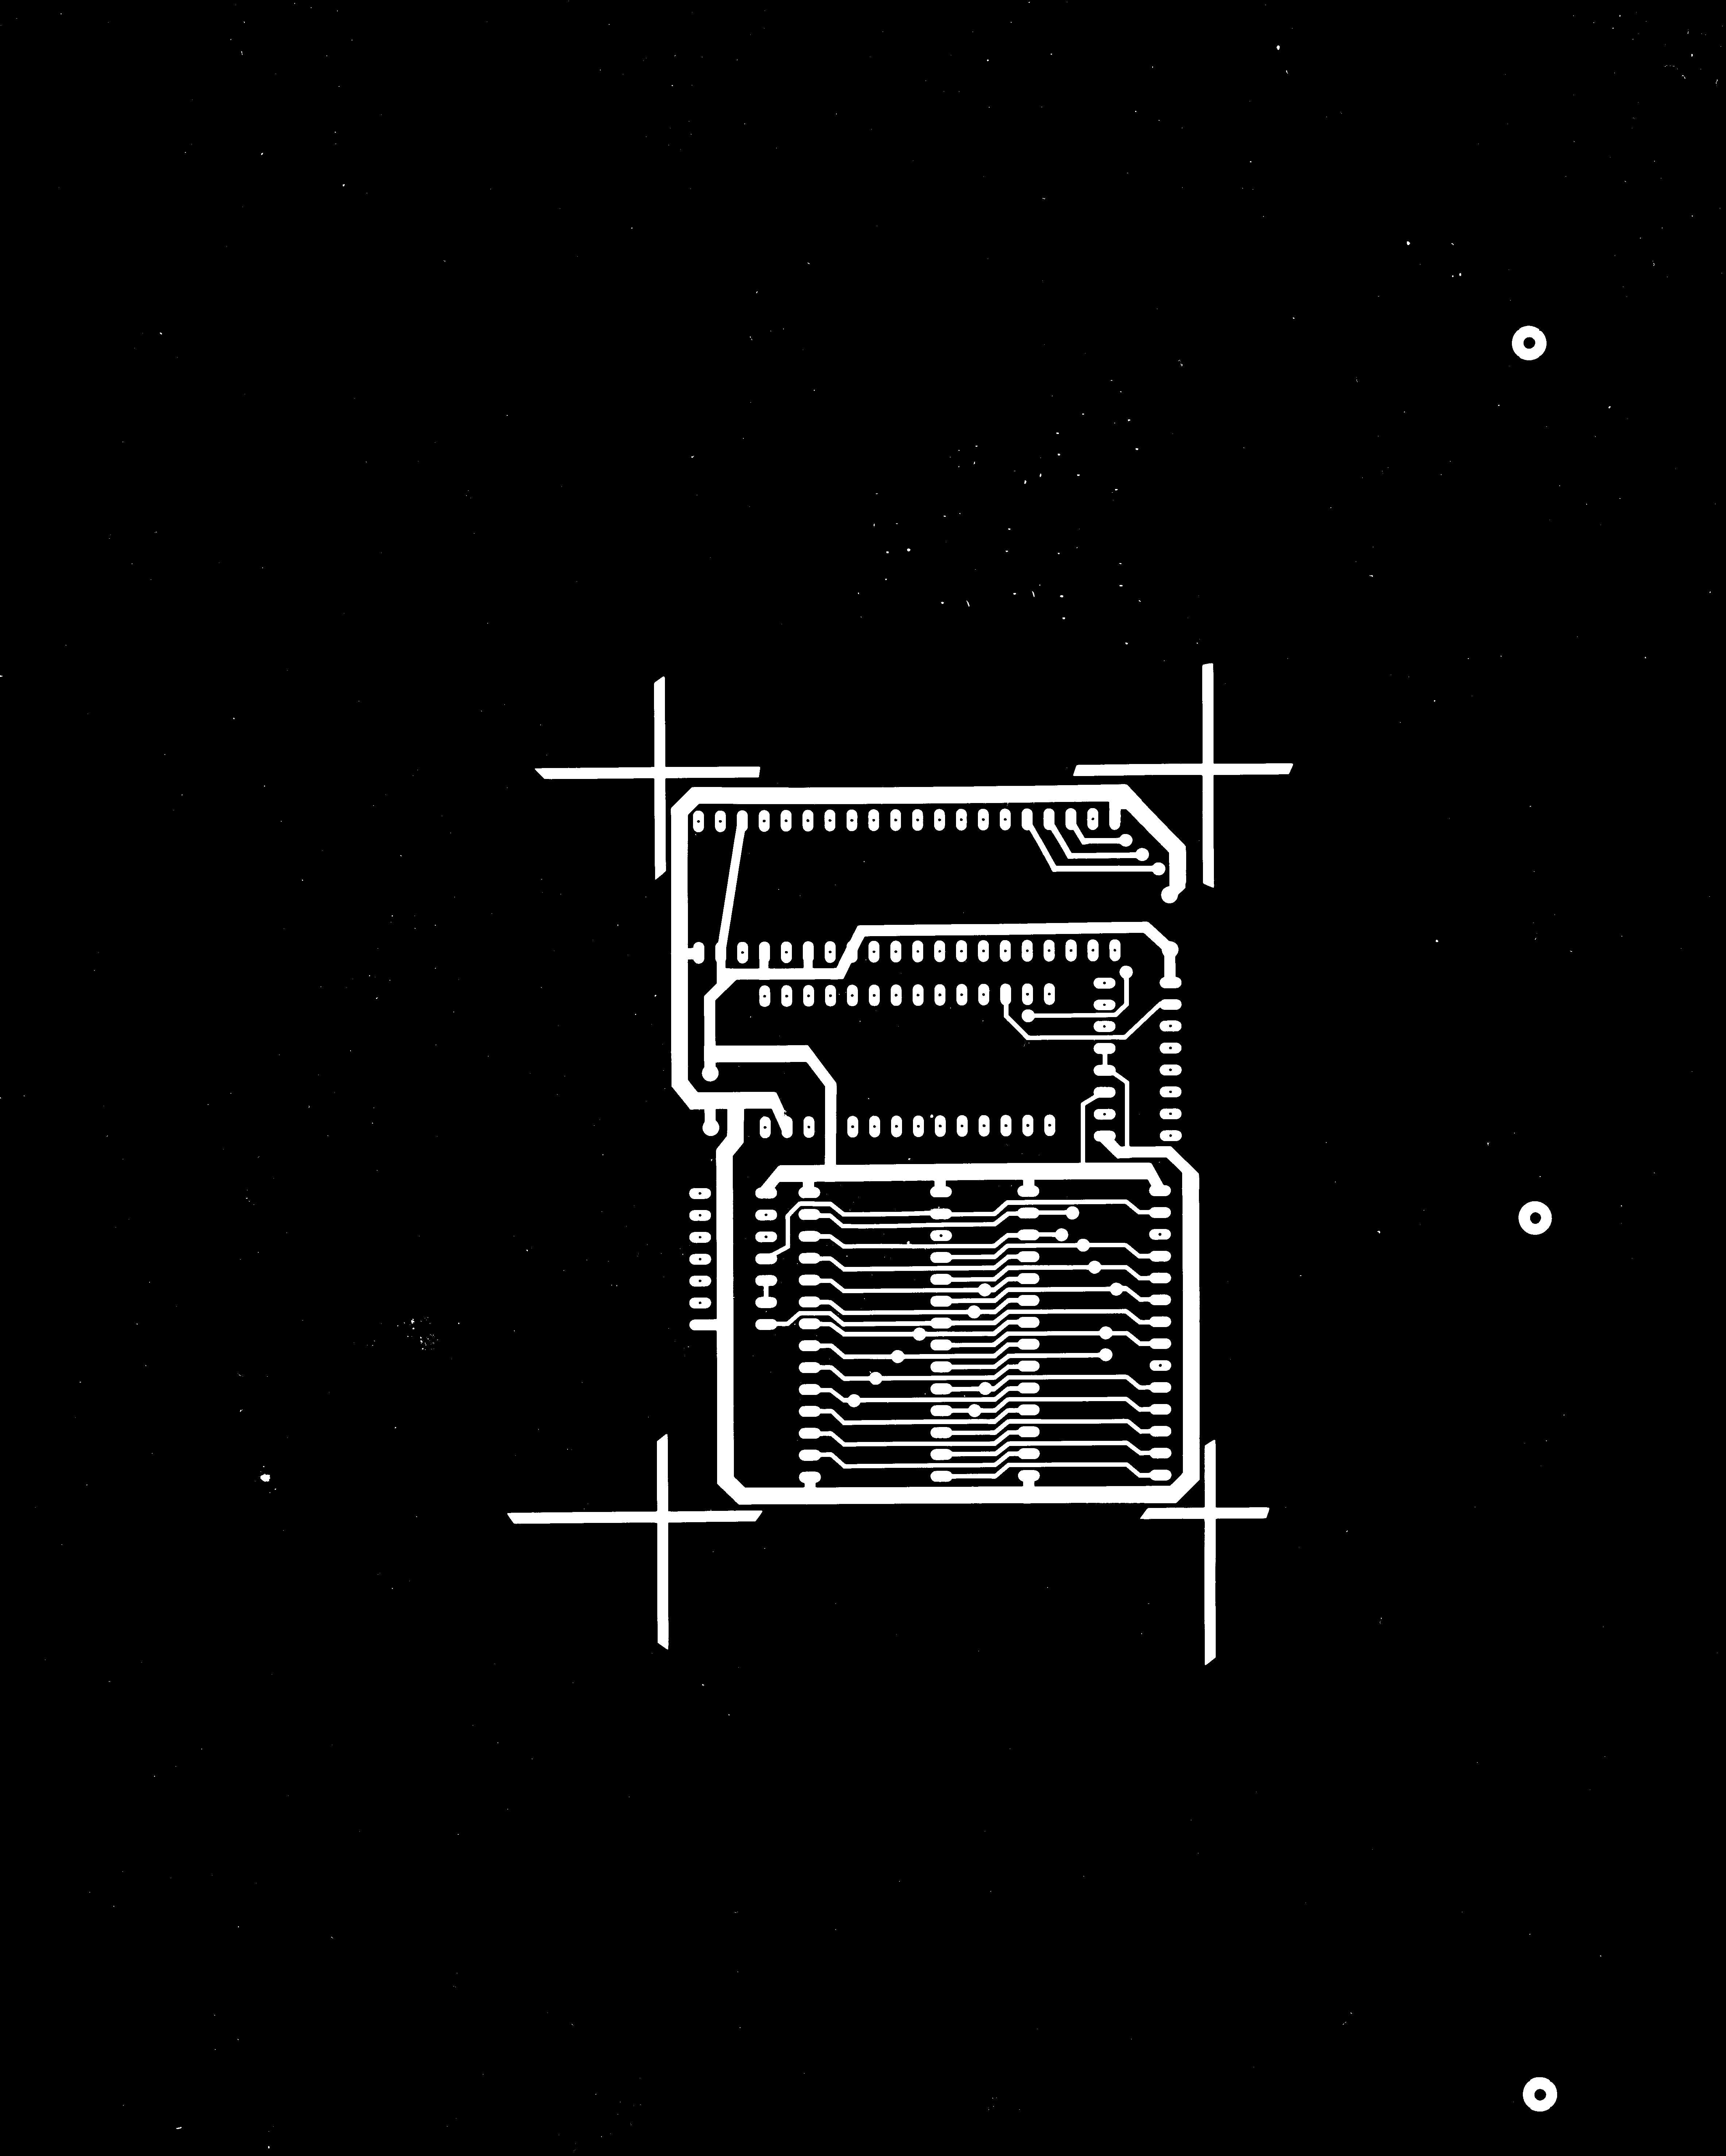
Duplicator Artwork Pads.jpg
1050
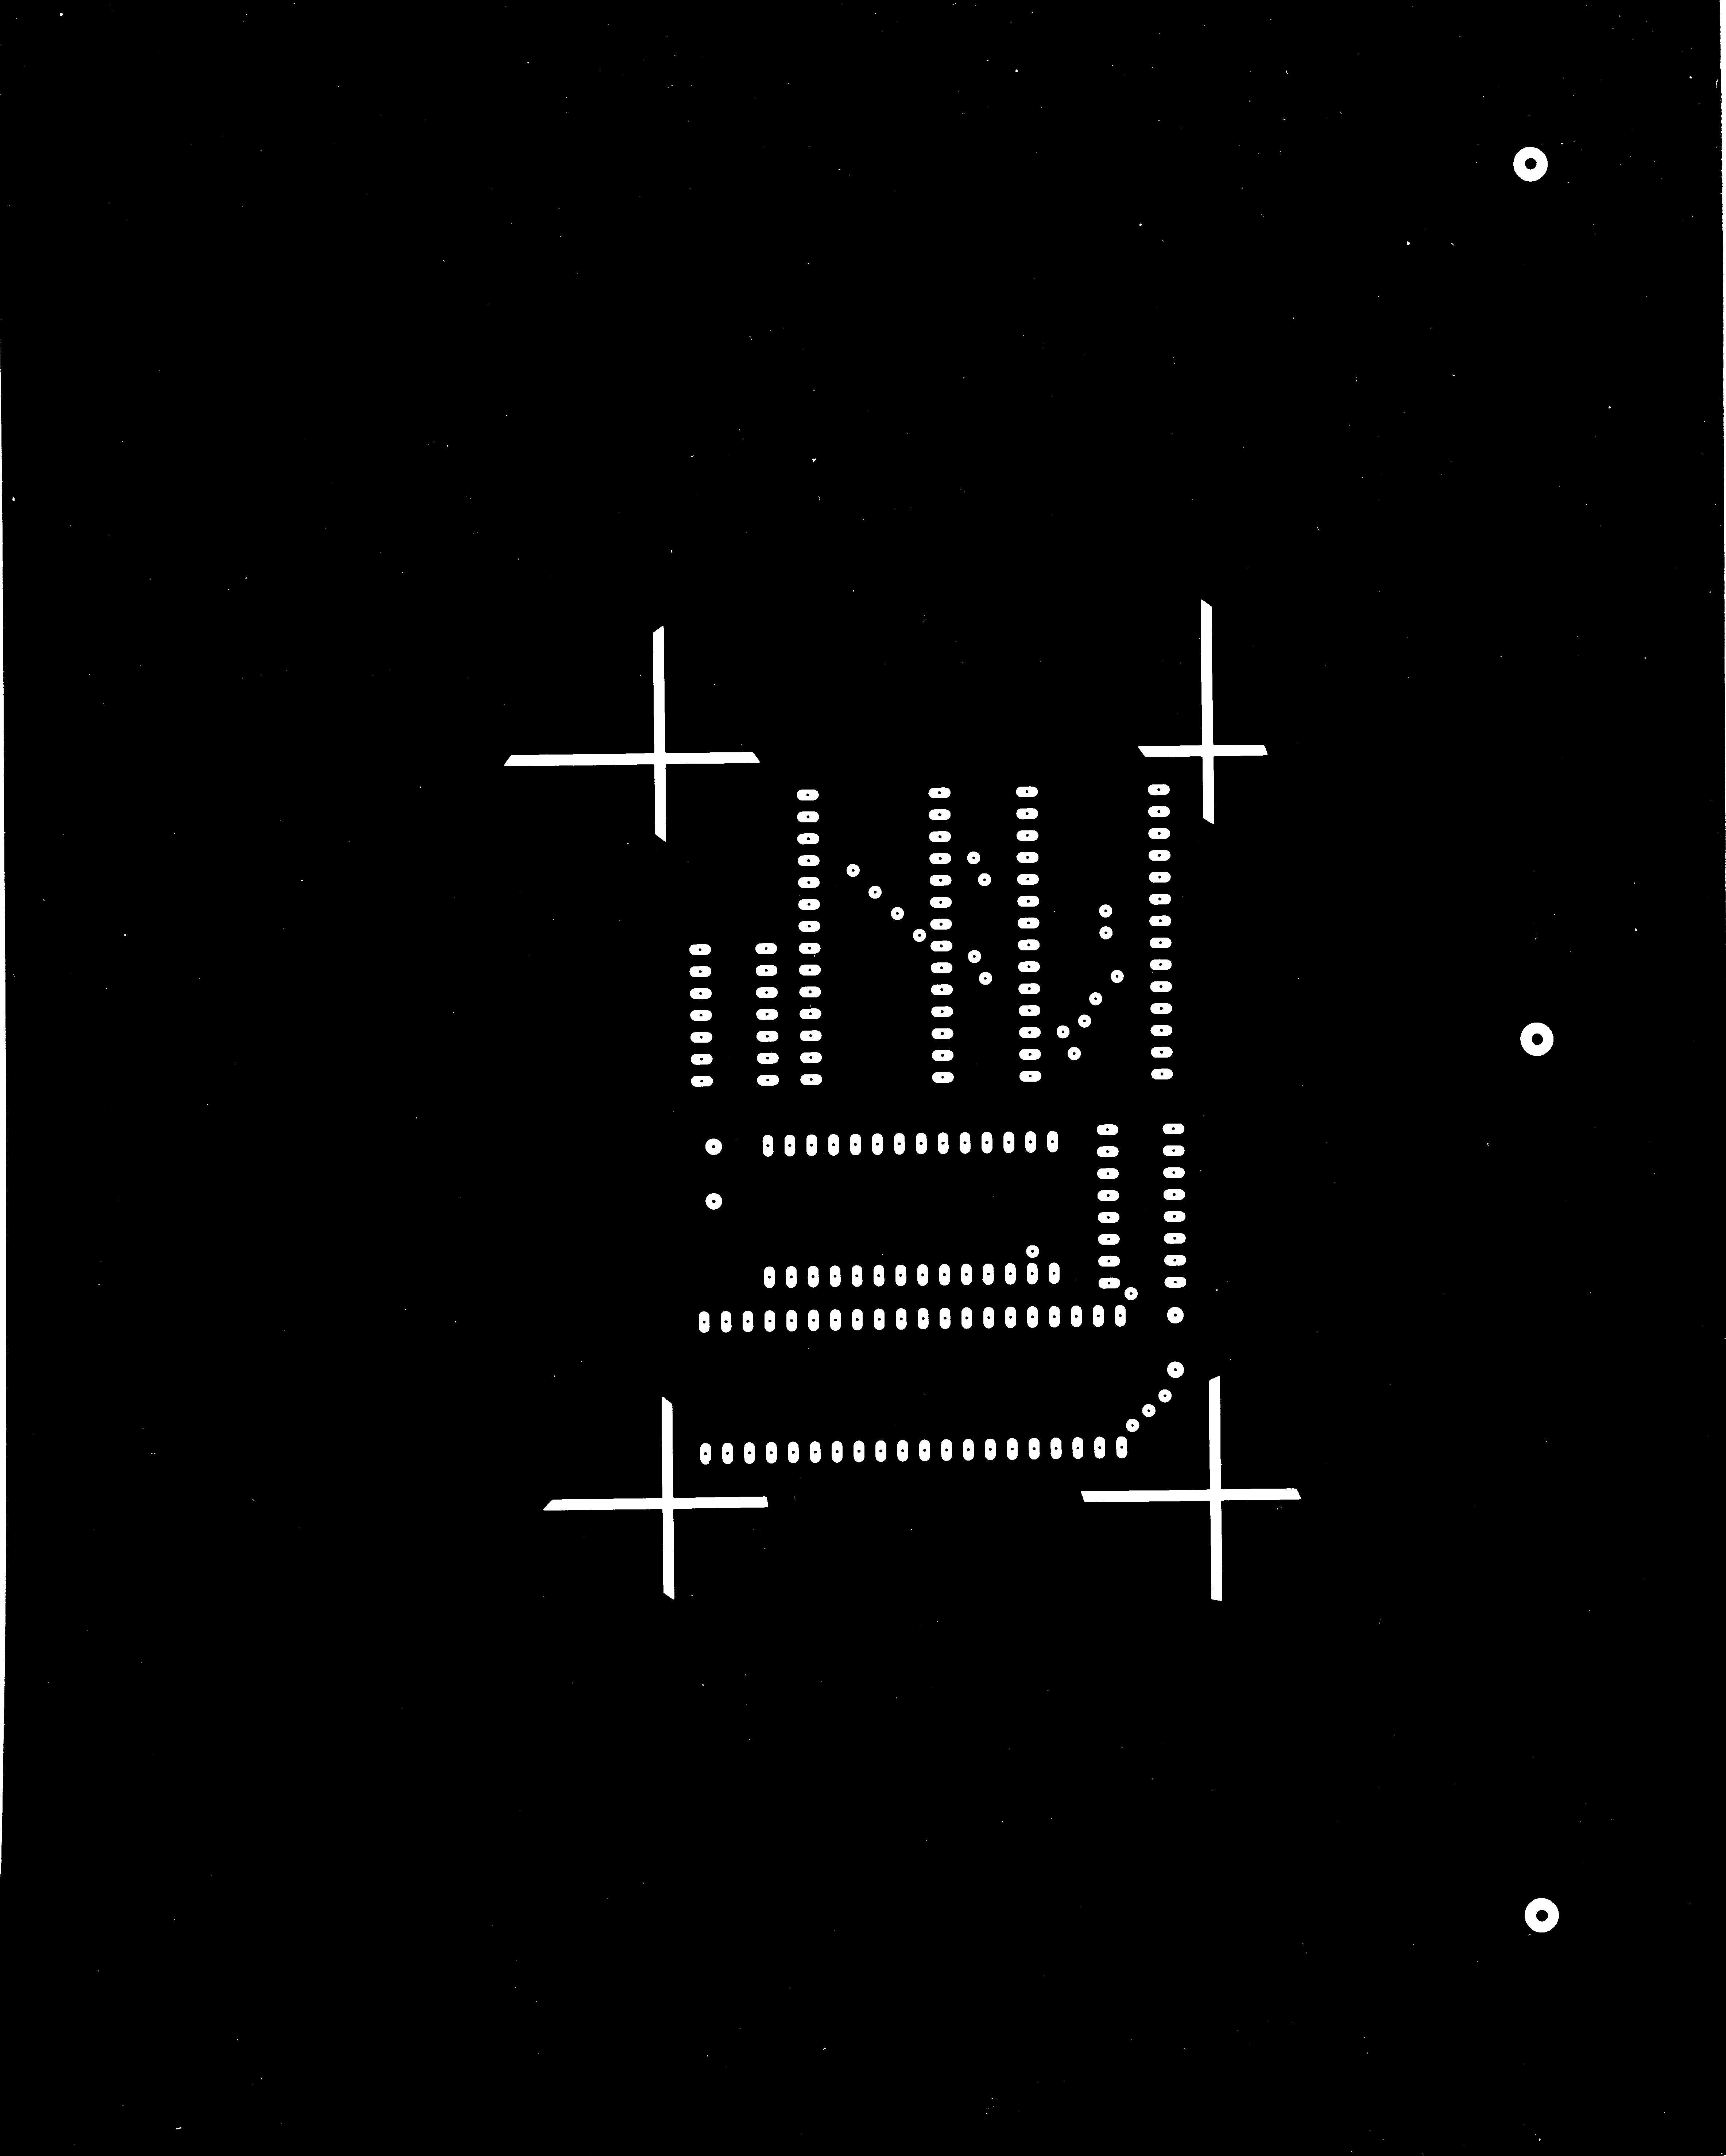
Duplicator Componet Side.jpg
TECHNICAL
REFERENCE DUPLICATIOR BOARD.doc
DD15M6.ASM
DD15M2.ASM
dup_src_ascii.zip
dup_src_atascii.ZIP
DD15M0.ASM
Programming
with the duplicator.doc
DD15M3.ASM
All info I have
on Duplicator 1050 ziped up
1050 Duplicator.zip
TECHNICAL REFERENCE NOTES FOR THE 1050 DUPLICATOR BOARD
I. Introduction
The main reason for this
document is to allow the advanced user to enhance any programs that he/she
may wish to create for this new powerful drive system.
The
II. Over view
The 1050 duplicator PROM contains two basic systems. The main system is the 1050 drive handler. That is, all of the software that goes into making the 1050 drive acts like a 1050. The second part of the duplicator PROM is the BCS system (BASIC COPY SOFTWARE) that handles the analysis, reading and writing of copy protected diskettes. Below the two main systems, exist many smaller sub systems. The subsystems consist of SIO communications, command decoding, sector reading, track buffer management, disk format sensing, sector writing, disk formatting, etc, to name a few. The two main themes that we will deal with are using the serial I/O commands and programming the disk drive.
III. Serial bus commands
1. Read Sector
Command: R
Aux1: Low byte of sector number
Aux2: High byte of sector number Returns: 128 or 256 Bytes of data depending on density
The read sector command can function in one of many ways depending on how the drive is configured or what density is being read. In single density, the drive will always return 128 bytes of data. The so-called density and a half or 1050 double density also will return 128 bytes of data. In double density, however, things get a little complicated. In order to make is so that a double density disk will boot on the ATARI computer, the first 3 sectors need to be 128 bytes long. So, when you read a double density disk, the drive will return 256 bytes unless you read sectors 1,2 or 3, which will return 128 bytes. Also, you can control the way in which the drive is read. You can read in either the buffered or unbuffered mode. In the drive there is some memory that is set aside to provide an area in which to buffer on complete track of data. In single and double density, this consists of 18 sectors, in density and a half, this is 26 sectors. The idea is that all of the sectors can be read in one revolution of the disk. This amounts to about 208 msec. After the data is in the track buffer, it can be read out without having to get it off the disk. This is what gives the duplicator much more speed that other none enhanced drive, and other non-buffered drive modifications. You also have the option to disable the buffered mode of operation (so called forced slow operation). See serial bus command 'b' to set buffering mode of drive. If any problem was found in reading any sector, a serial bus error is returned back with any data that was found and the hardware status byte is set according to what error was found. In general these errors will result the dreaded Error- 144.
2. Write Sector with verify
Command: W
Aux1: Low byte of sector number
Aux2: High byte of sector number
Returns: Serial bus error on a bad write
This command also has many modes of operation depending on what the density of the disk is. In single density the drive expects to receive 128 bytes of data from the computer. Also in density and a half, the drive expects to receive 128 bytes of data. Again in double density, things get complicated. The drive normally expects to receive 256 bytes of data except for sectors 1,2 or 3 for which it will only expect 128 bytes. If the drive cannot find the record (bad sector) or does not verify the data in the sector (damaged disk), the drive will return a serial bus error resulting in an error 144.
3. Write Sector without verify
Command: P
Aux1: Low byte of sector number
Aux2: High byte of sector number
Returns: Serial bus error for record not found
This command is the same as the 'W' command except that it does not verify the sector. In general, you do not need to verify the sector unless you have a very critical operation. By not verifying, you can write data to the disk faster, as in order to verify, the drive has to wait for the sector it just wrote to come all the way around.
4. Read drive status
Command: S
Aux1: Not used
Aux2: Not used
Returns: Four bytes of data indicating status
The status command returns data indicating the condition of the drive as follows:
Byte 0:
Bit 0:Indicates the last command frame had an error. The duplicator board does not use this bit.
Bit 1:Checksum, indicates that there was a checksum error in the last command or data frame. The duplicator board does not use this bit.
Bit 2:Indicates that the last operation by the drive was in error. Not used by the duplicator board
Bit 3:Indicates a write protected diskette. 1=Write protect Bit 4:Indicates the drive motor is on. 1=motor on
Bit 5:A one indicates MFM format (double density)
Bit 6:Not used
Bit 7:Indicates Density and a Half
If 1 Byte 1:
Bit 0:FDC Busy should always be a 1
Bit 1:FDC Data Request should always be 1
Bit 2:FDC Lost data should always be 1
Bit 3:FDC CRC error, a 0 indicates the last sector read had a CRC error
Bit 4:FDC Record not found, a 0 indicates last sector not found
Bit 5:FDC record type, a 0 indicates deleted data mark
Bit 6:FDC write protect, indicates write protected disk
Bit 7:FDC door is open, 0 indicates door is open Byte 2:Timeout value for doing a format.
Byte 3:not used, should be zero
5. Send configuration to drive
Command: O
Aux1: not used
Aux2: not used
Returns: nothing
This command sets the drive up for the next format command. Be sure it is issued before using the standard format command ('!') as the drive sets this block up according to the disk that is installed. The drive expects to see a 12 byte block of data sent by the computer of the following format:
Byte 0:Number of tracks, should be set to 40 only
Byte 1:Step rate, ignored by the duplicator
Byte 2:Sectors per track high byte (always should be 0)
Byte 3:Sectors per track, low byte, can be 18 or 26
Byte 4:Max head number, should always be 0
Byte 5:Density, Bit 2=1, double density
Byte 6:Bytes per sector high byte
Byte 7:Bytes per sector low byte
Byte 8:Drive present flag
Byte 9-11:not used, should be zero
6. Return Drive Configuration
Command: N
Aux1: not used
Aux2: not used
Returns: Drive configuration block described above
This command examines the drive configuration that will determine how the disk will be formatted on the next standard format command.
7. Standard Disk Format
Command: !
Aux1: not used
Aux2: not used
Returns: Block of data indicating bad sector map First off, this command does not return a bad sector map. It does send back 128 or 256 bytes depending on the length of the sectors on the disk. If a bad sector is found the drive will return a serial bus error. You should make sure that the drive configuration is set before a format command is issued.
8. Density and a half disk format
Command: ”
Aux1: Not used
Aux2: Not used
Returns: 128 byte block
Forces drive to format in ATARI 1050 double density (density and a half). Does not really return bad sector map.
9. Custom Sector Disk Format
Command: f
Aux1: not used
Aux2: not used
Returns: SIO error if disk is defective
The drive expects a 128 byte data frame to be uploaded. The first 12 bytes contain drive configuration info that indicate how the disk is to be formatted. The next 18 or 26 byte indicates the sector skewing to be used in formatting. In this way the user can use his/her own custom skew when formatting this disk. This command is used by Sparta Dos when formatting Ultra Sector Skewing.
10. Return Speed index
Command: ?
Aux1: not used
Aux2: not used
Returns: One byte indicating speed index
This command does several things. First, it returns one byte that is to be used by a custom high-speed serial handler, and second, it will shift the drive into the high-speed mode. Presently, the drive returns the value of 10. If the next command frame is still sent out at the standard baud rate, the drive will automatically shift back.
11. Set drive buffer mode.
Command: b
Aux1: mode
Aux2: not used
If Aux1 is 0, then the drive will be put into the track buffered mode. Any other value will put the drive into the unbuffered mode. This is the command that puts the drive into the so-called "forced slow mode".
12. Kill density sensing.
Command: d
Aux1: mode
Aux2: not used
This command can be a bit tricky and could cause erratic operation if the user is not aware of what is going on. (Note: this command does not work on duplicator prom version 2.12. It will disable the density sensing but cannot re-enable it.) The drive normally will check out the floppy disk when it is booted to see what format and what density was used and configure itself to the disk. Sometimes this can be annoying. Certain copy-protected disks can confuse the software that does this making the drive inactive for up to 6 seconds or more. In some cases you may wish to disable this. When Aux1=0, density sensing will be enabled, when Aux1=1 density sensing will be disabled.
13. Set load address
Command: s
Aux1: Lsb of address
Aux2: Msb of address
Returns: nothing
This command can really get you into trouble if you do not know what you are doing. This command will allow you to set the address used by the Upload command to any address within the drive. Yes any address, it does not care. This command is required before the Upload command is initiated.
14. Upload data to drive
Command: u
Aux1: not used
Aux2: not used
This one is even worse. You can crash the Duplicator so bad with this command that you will have to power it down and reboot. This command requires that you use the Set Address command first or you will get strange results, possibly killing the duplicator. The disk drive expects to see the computer send a 256 byte block of data to the drive. After the data is received, the drive automatically increments the load address by 256 so that uploads can be done with out resetting the address.
15. Custom track format
Command: c
Aux1: low byte of number of bytes on track
Aux2: high byte of number of bytes on track
Returns: Error if number of bytes too long
This command must be used in conjunction with the Set Address command and the Upload command. The address must be set to $2000 before uploading the track information. Also the drive will expect a block of data that is one byte long that contains the rotational time for one revolution of the disk. This is very simple to calculate: t=58,594 * 1/rpm of course, you only want the integer part of t. For example, for 288 RPM, t will be 203, and for 272 RPM ( the special slow rpm for 20 sectors ) t will be 215. If the amount of data is too long to put on a track in the given time, you will get back an error that will show as an OS error- 144. The data fed to the drive can be anything you wish. If you want a blank track you can upload all 0's or $FF's and this will clear the track, however it is recommended that you follow the Western Digital rules for generating a formatted track.
16. Run uploaded program
Command: r
Aux1: Low byte of run address minus one
Aux2: High byte of run address minus one
This is another command that will get you into trouble. It is not recommended for the beginner. This command is used to run a routine that was uploaded by the user. The contents of AUX1 and AUX2 must be the run address minus one. For example, let us say you just uploaded a program that has a run address of $32C0. In this case AUX1=$BF and AUX2=$32, get the idea! The routine that is called should return the value of $00 in memory address $A0 if no error, or return the value $02 in memory address $A0 if some error was encountered.
17. Seek new track
Command: g
Aux1: track number
Aux2: not used
Seeks the track whose number is in Aux1. If the number is out of range, the command will return an error. This command is useful for moving the head when using the Custom track format command.
18. Write sector with deleted data
Command: w
Aux1: low byte of sector number
Aux2: high byte of sector number
This command behaves the same as write sector without verify, except that a deleted data mark is put on the disk. When this sector is read back, the user will get back an error -144 but the data received will be valid.
19. Analyze Track on diskette
Command: a
Aux1: Track number to analyze
Aux2: not used
Returns:256 byte block of data
This command is quite involved and does a lot. It analyzes the disk and attempts to figure out what is on the disk. Internally, the drive will try up to six times to find out what is no a track. If it cannot, it will not return a serial bus error. The block of data that is returned is of the following format:
Byte n+0: Track number
Byte n+1: Side number
Byte n+2: Sector number
Byte n+3: Sector length
Byte n+4: CRC1
Byte n+5: CRC2
Byte n+6: FDC status register
Byte n+7:Sector time (in K milli seconds, where K=1.024). This pattern is repeated for each sector is found.
Byte 254 of the block of data is the number of sectors found on the track.
Byte 255 is status of the operation as follows:
Byte 255: 0=operation complete, data is good :1=Bad track number :2=Blank track:3=Can not figure out what is on track
If error code 3 is returned, it is generally best to retry the analysis process. Sometimes if the disk is in poor condition it may take several try’s before good data can be found. Error code 1 is returned if you attempt to do something like analyze track number 100 or something. It should be noted that the track analysis only works with a single density (FM) disk. Double density disks will most likely return a blank track error. Bytes n+0 to n+5 is the information that is returned by the read address FDC command. The 2 CRC bytes are of most likely limited utility. The sector time however could be useful. This is the amount of time that elapses between successful read address commands. In general, you should find that there is 10 to 11 msec between full sectors. If you get 5 ms or less, this is most likely a half sector.
20. Upload sector pattern and read track
Command: m
Aux1:track number
Aux2: not used
Returns: nothing
This command expects a 128 byte buffer that contains the pattern of sectors on the track of interest. The contents of the 128 byte buffer is a null ($00) terminated string that contains the sector pattern. For instance, for a typical disk it may be: 1 3 5 7 9 11 13 15 17 2 4 6 8 10 12 14 16 17 0 When the drive encounters the 0, it realizes that it has no more data to read off of the disk because there are no sectors with a sector number of 0 on an Atari disk. Also, you should make sure that the first sector number is unique before uploading a pattern. In the above example, there are two sectors with a sector number of 17. If 17 was the first number in the string, there could be an ambiguity about which sector 17 to read first. After the operation is complete, a buffer inside the drive contains all of the data that was read from the track. See get sector data command below.
21. Get sector data
Command: t
Aux1: not used
Aux2: not used
This command can only be done after an "m" command has been performed. It will then be done the same number of times as there were sectors on the disk. The drive returns a buffer of 128 bytes and then sets the STATUS according to the status register when that sector was read with the "m" command. To get the status issue a status command ("S") and get the second byte returned. THIS COMMAND MUST BE USED THE SAME NUMBER OF TIMES AS SECTORS UPLOADED WITH THE M COMMAND AFTER THE M COMMAND HAS BEEN EXECUTED OTHER WISE, STRANGE THINGS MAY RESULT!
22. Upload sector data
Command: v
Aux1: buffer number
Aux2: Status of sector
This is another dangerous command, and is somewhat complicated. This command is used to prepare the buffer that is to write out a track of data to the disk. The buffer number is not the same as the sector number, and this is where is gets a little confusing. For example, let us say a disk has the following skew: 1 3 5 7 9 11 13 15 17 2 4 6 8 10 12 14 16 17 The corresponding buffer number pattern will be: 0 1 2 3 4 5 6 7 8 9 10 11 12 13 14 15 16 17 what this means is that data for sector 1 is put in buffer number 0, data for sector 3 is put in buffer number 1, data for sector 5 is put in buffer number 2, ect..., data for sector 2 will go into buffer number 9, and so on, I think you get the picture. The sector status is the status you got from the "S" command you would have issued after you did a "t" command to get back the sector data. You must only upload to one buffer number once. If you write to buffer number 15 twice, you will only have the data that was last written. This command does not put any data onto the disk.
23. Upload sector pattern and write buffer to disk
Command: n
Aux1: not used
Aux2: not used
This command uploads the pattern of sectors that appear on the disk and reflects the order of the data as it was uploaded with the "v" command. The string of data that indicates the sector skew should be null ($00) terminated. Also, the first sector number should be unique as in the read data command "m". The length of the buffer is 128 bytes that the drive expects.
24. Change drive RPM
Command: j
Aux1: mode
Aux2: not used
If Aux1=0 drive is put to normal rpm (288).
If Aux1=1, then drive is put in special slow rpm (272). Special slow pot must be installed for this command to function.
25. Change drive hold on time
Command: h
Aux1: time in tenths of seconds
Aux2: not used
This command controls the amount of time that the drive stays on after a read, write, or format type command, or anything that requires that the drive spin. The value in Aux1 is interpreted to be in tenths of a second. So, If Aux1=10 (default value) drive will spin for 1 second. The smallest recommended value is 1. A value of 0 could give erratic results. IV. Programming the duplicator A. Introduction Yes, you can program the duplicat value of 0 could give erratic results.
IV. Programming the duplicator
Introduction Yes, you can program the duplicator. To aid you in this effort, legal entry points into the prom will be given and a description of the results of making that call. A series of jump vectors starting at $E000 allow you to write software that should always work with any revision of the prom. These vectors will never change (or at least I hope so). Every effort should be made by the programmer not to use any other entry points that he/she should find. These will not be guaranteed.
1. Cold start
Location: $E000
Entry: none
Exit: this routine never exits
Description: This routine is the cold start entry and will completely initialize the drive and thus, destroy any user program. The same action can also be taken by jumping through the vector at $FFFC.
2. Send NAK
Location: $E003
Entry: none
Exit: none
Description: This routine sends a NAK back to the computer over the serial bus.
3. Send ERR
Location: $E006
Entry: none
Exit: none
Description: This routine sends an Error code back to computer over the serial bus.
4. Send ACK
Location: $E009
Entry: none
Exit: none
Description: This routine sends an Acknowledge back to the computer over the serial bus.
5. Send Complete
Location: $E00C
Entry: none
Exit: none
Description: This routine send a Complete back to the computer over the serial bus.
6. Do a delay
Location: $E00F
Entry: none
Exit: none
This routine just burns up 250 microseconds of time. Useful for serial bus timing.
7. Get a data from the serial bus
Location: $E012
Entry: ACC=number of bytes to read variable BPNT points to buffer area
Exit: $A0 contains status of operation:
=$00 operation ok:
=$01 for time out error
=$A1 contains checksum byte from data frame
This routine can be used to get either a data frame or command frame from the serial bus. However, it is recommended that you use the receive routine.
8. Put a data byte to the serial bus
Location: $E015
Entry: ACC contains data byte to send
Exit: none
This routine sends one byte of data to the computer.
9. Compute check sum
Location: $E018
Entry: Acc contains data to add to variable CHKSUM
Exit: Acc contains data that was added to CHKSUM
This routine is used to calculate the checksum of a group of data that will be sent back to the computer. Before this operation is started, however, the programmer must make sure that the variable CHKSUM is set to zero ($00).
10. Receive data from computer
Location: $E01B
Entry: ACC=number of bytes to receive: variable BPNT points to buffer space
Exit: returns status in location
$A0: =$00 operation ok:
=$01 timeout
=$02 checksum error
11. Send data to computer
Location: $E01E
Entry: variable BPNT points to data to send: ACC= number of bytes to send
Exit: none
This routine sends a buffer of data back to the computer and puts the proper checksum at the end. a length of 0 is 256 bytes.
12. Force FDC interrupt
Location: $E021
Entry: none
Exit: none
This routine will terminate any action that the Floppy disk controller is taking.
13. Recalibrate head position (seek track zero)
Location: $E027
Entry: none
Exit: none
This routine will reposition the head at track zero and set the variable TRACK to zero.
14. Wait for 5 msec
Entry: none
Exit: none
This routine burns up 5 milliseconds of time. Used in timing track stepping.
15. Seek track
Entry: variable NTRK contains track number to seek
Exit: carry set if seek error
This is the routine to use to go to a particular track. Step rate is 10mSec per track.
16. Calculate new track/sector number
Entry:
Aux1 and Aux2 is in the command frame buffer
Exit: variable NTRK contains new track number variable NSEC contains new sector number Aux1 and Aux2 are destroyed
This routine is used to calculate physical sector and track addresses from the logical sector number the Atari uses.
17. Read a sector from the disk.
Entry: ACC = sector number to read (1-18) or (1-26 in density and 1/2): variable BPNT points to buffer area to put data